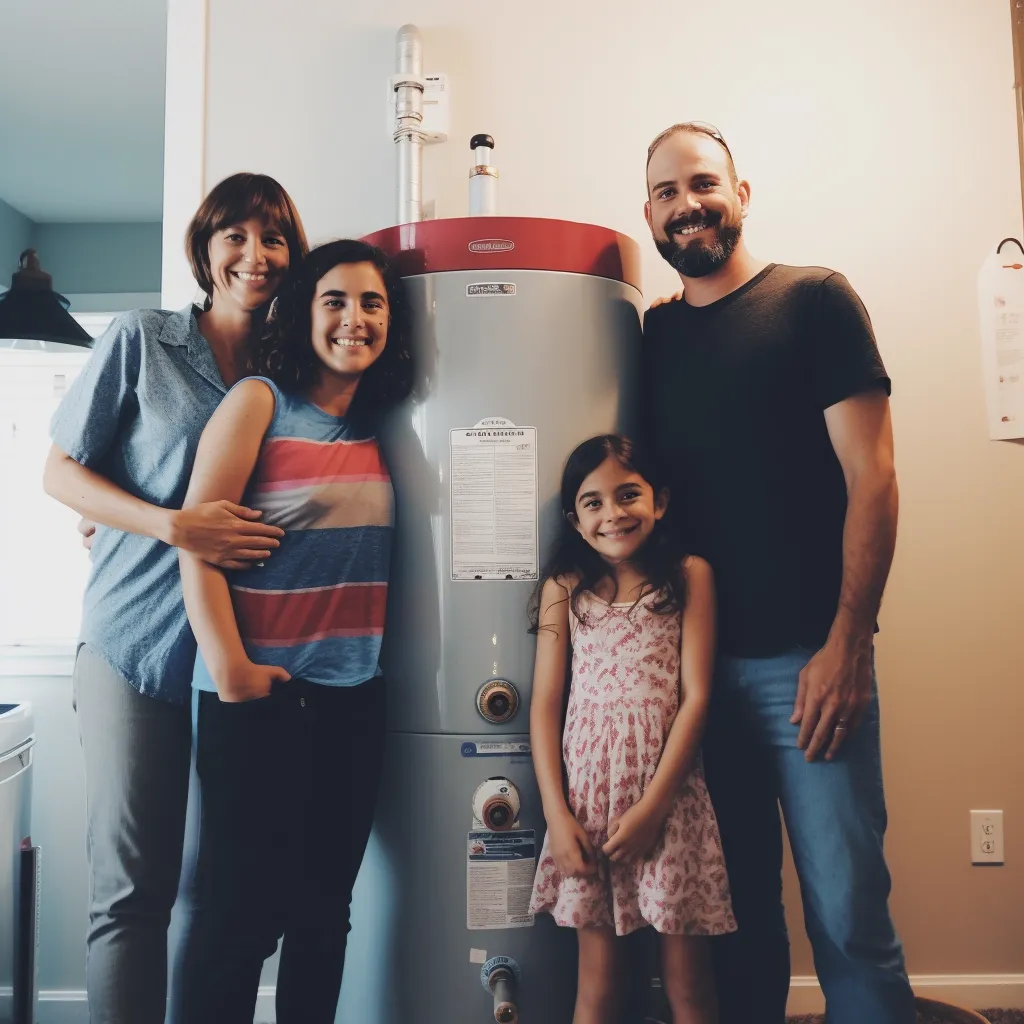
Water Heater Installation in Rancho Cucamonga: Your Comprehensive Guide

When it's time for a home improvement project in Rancho Cucamonga, one of the most crucial tasks you'll encounter is replacing your residential water heater. Whether your old unit has given out or you're aiming for a more energy-efficient model, knowing what to expect during the water heater installation process is key. In this extensive guide, we'll walk you through every step of the journey, from selecting the perfect unit to the final installation.
Step 1: Evaluate Your Needs and Choose the Right Water Heater
Before you dive into the installation process, the first and most critical step is to assess your hot water needs and select the ideal water heater. Here are the key factors to consider:
Capacity: Determine the appropriate water heater size based on your household's size and hot water usage. Typically, a family of four in Rancho Cucamonga requires a 40 to 50-gallon tank.
Fuel Type: You have options between gas, electric, or tankless water heaters. Gas heaters are energy-efficient but require a gas supply, electric heaters are easy to install and suitable for smaller households, and tankless heaters provide on-demand hot water but may come with a higher upfront cost.
Energy Efficiency: Opt for water heaters with high Energy Factor (EF) ratings to save on energy bills over time. Look out for Energy Star certified models for maximum efficiency.
Location: Consider the available space for your new water heater and ensure it complies with local building codes.
Budget: Determine your budget, covering the unit cost, installation, and any additional components.
Brand and Warranty: Research reputable brands and select a water heater with a substantial warranty for peace of mind.
Step 2: Gather the Necessary Tools and Materials
Before you start the installation process, ensure you have all the required tools and materials ready. Here's a checklist:
New Water Heater: Ensure it matches your selected specifications. Wrenches and Pliers: Necessary for disconnecting old plumbing connections.
Pipe Cutter: To cut and prepare new pipes if needed. Pipe Thread Sealant: For securing connections and preventing leaks.
Gas Line or Electrical Wiring: Depending on your unit, ensure you have the necessary connections.
Teflon Tape: To seal threaded connections.
Pipe Fittings: If your plumbing requires modifications.
Bucket and Towels: To catch any water or debris during the removal process.
Step 3: Shut Off Utilities and Drain the Old Water Heater
Before removing the old water heater, follow these steps to ensure a safe disconnection:
Gas Water Heater: Turn off the gas supply valve.
Electric Water Heater: Switch off the power at the circuit breaker.
Water Supply: Shut off the cold water supply valve.
Pressure Relief Valve: Open the pressure relief valve to release any pressure and prevent accidents.
Drain Valve: Connect a garden hose to the drain valve and direct it to a suitable drainage location. Open the valve to empty the tank.
Step 4: Disconnect and Remove the Old Water Heater
Now that your old water heater is empty and utilities are disconnected, it's time to remove it:
Disconnect Plumbing: Use wrenches and pliers to disconnect the hot and cold water pipes.
Disconnect Gas Line: If applicable, disconnect the gas line using a wrench.
Disconnect Electrical Wiring: If you have an electric water heater, disconnect the wiring carefully.
Remove Old Unit: With all connections detached, carefully remove the old water heater from its location.
Step 5: Prepare for the New Water Heater
Before installing the new water heater, ensure the installation area is ready:
Clear Space: Remove any debris or obstacles from the installation area.
Platform or Stand: Place the new unit on a stable platform or stand if required.
T&P Valve: Install a new temperature and pressure relief valve if necessary.
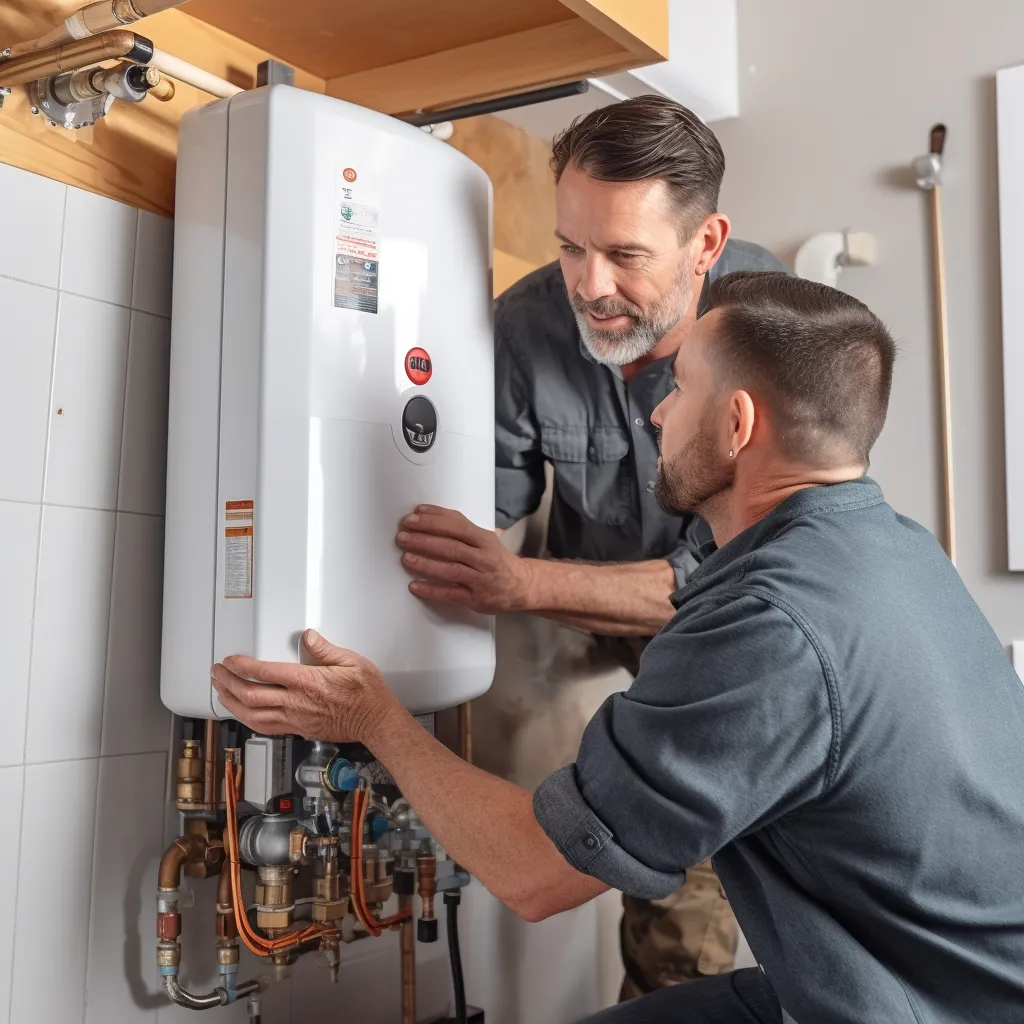
Step 6: Install the New Water Heater
Now, it's time to install your new water heater:
Positioning: Carefully position the new unit in the desired location.
Connect Plumbing: Reconnect the hot and cold water pipes using pipe thread sealant.
Connect Gas Line or Electrical Wiring: Depending on the unit, connect the gas line or electrical wiring.
Tighten Connections: Use wrenches and pliers to ensure all connections are secure.
Ventilation: Ensure proper ventilation for gas water heaters, following local building codes.
Fill the Tank: Open the cold water supply valve and allow the tank to fill completely.
Check for Leaks: Inspect all connections for leaks and address them immediately if found.
Step 7: Reconnect Utilities and Test
With the new water heater in place, it's time to reconnect utilities and test the unit:
Gas Water Heater: Turn on the gas supply and follow the manufacturer's instructions for lighting the pilot.
Electric Water Heater: Restore power at the circuit breaker.
Water Supply: Fully open the cold water supply valve.
Pressure Relief Valve: Close the pressure relief valve when water flows steadily from it.
Check for Leaks: Once again, inspect all connections for leaks.

Step 8: Set the Temperature and Adjust as Needed
Temperature Setting: Adjust the water heater's temperature to your desired level, typically between 120°F and 140°F.
Wait for Hot Water: Be patient, as it may take some time for the water heater to heat up the water.
Flush Tank: Periodically flush the tank to remove sediment and maintain efficiency.
Step 9: Regular Maintenance for a Long Lifespan
Now that your new water heater is installed, it's crucial to perform regular maintenance to extend its lifespan and ensure efficient operation:
Flush the Tank Annually: To remove sediment buildup and maintain heating efficiency.
Test the Temperature and Pressure Relief Valve Annually: To ensure it's functioning correctly.
Inspect the Anode Rod Every Two to Three Years: Replace it if heavily corroded to prevent rust inside the tank.
Regularly Check for Leaks, Corrosion, or Unusual Noises: Address any issues promptly to prevent major problems.
Consider Installing a Water Softener: If you have hard water, as this can reduce mineral buildup in the tank.
Take Care of Your Water Heater
Replacing a residential water heater in Rancho Cucamonga involves several steps, from selecting the right unit to proper installation. By carefully assessing your needs, choosing the appropriate type and size of water heater, and following the installation steps, you can ensure a successful replacement project.
Moreover, don't underestimate the importance of regular maintenance in prolonging the lifespan of your water heater. Performing annual maintenance tasks and addressing any issues promptly will help you enjoy reliable hot water for years to come while minimizing the risk of costly repairs or replacements.
Remember, a well-maintained water heater not only saves you money on energy bills but also contributes to the comfort and convenience of your home. So, take the time to care for your water heater, and it will reward you with reliable hot water for years to come.
Contact Us
One of the most significant investments you can make in your home is a water heater replacement.
GET IN FULL TOUCH
PHONE: (909) 639-6526
EMAIL:
rick@waterheaterranchocucamonga.com
Rancho Cucamonga CA 91701